ARTFULLY CRAFTED REGENERATIVE ORGANIC LIVING SOILS
Featured products
-
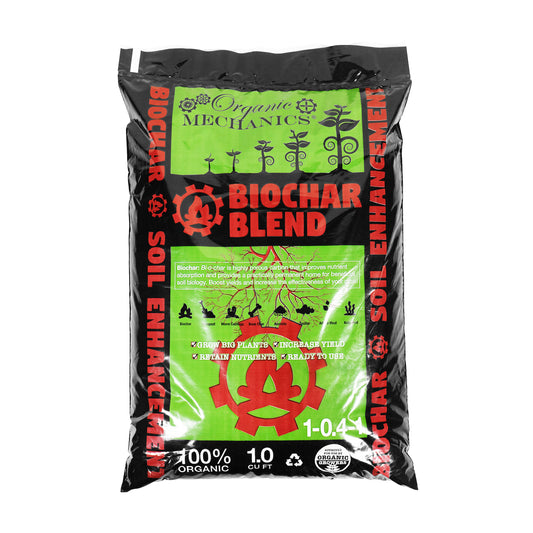
ORGANIC MECHANICS® Biochar Blend Soil Enhancement (1-0.4-1)
Regular price From $14.99 USDRegular priceUnit price / per$14.99 USDSale price From $14.99 USD -
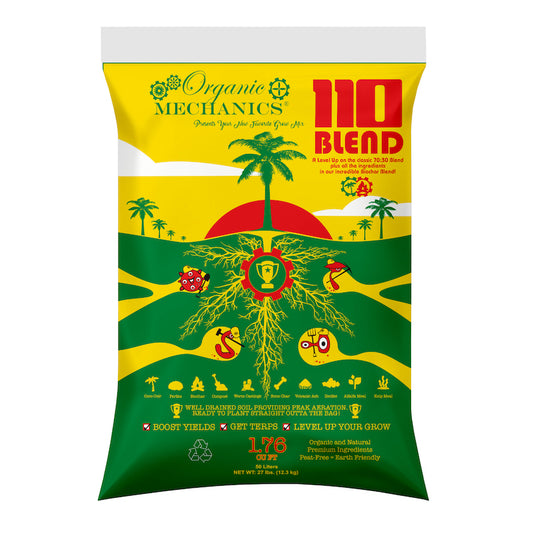
ORGANIC MECHANICS® 110 BLEND Potting Soil–> Level Up your 70:30 Blend
5.0 / 5.0
(1) 1 total reviews
Regular price $29.99 USDRegular priceUnit price / per$29.99 USDSale price $29.99 USD -
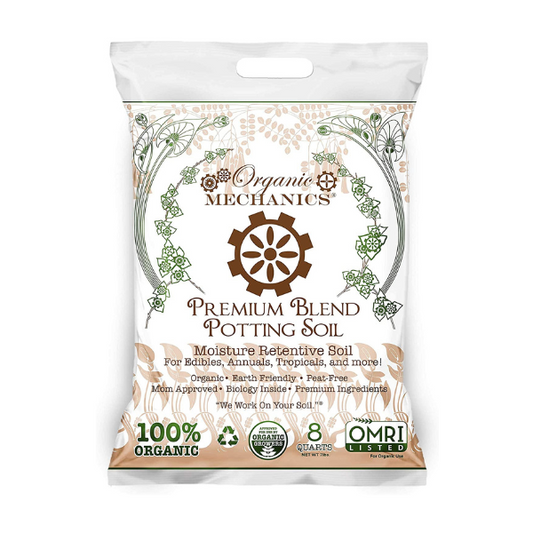
ORGANIC MECHANICS® Premium Blend Potting Soil
Regular price From $8.99 USDRegular priceUnit price / per$8.99 USDSale price From $8.99 USD -
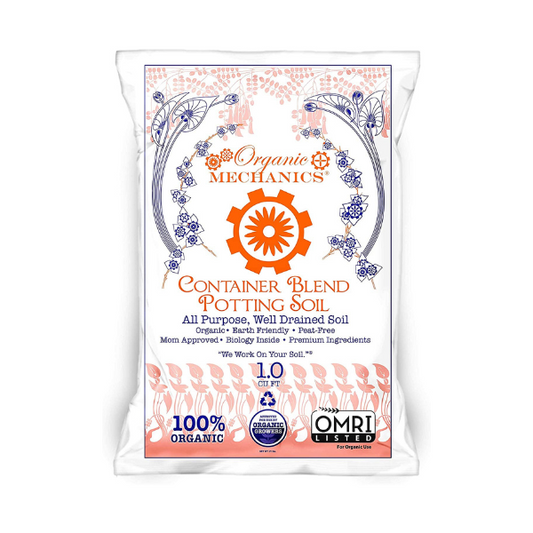
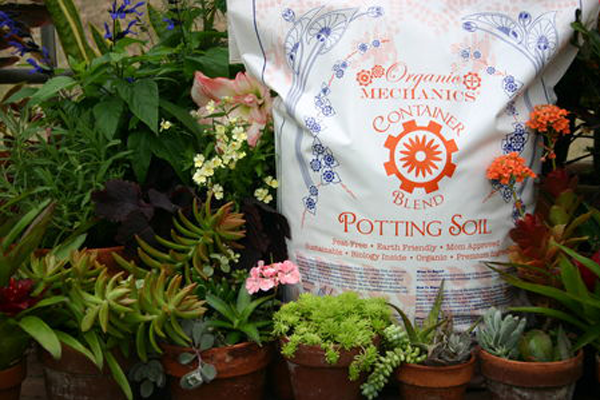
ORGANIC MECHANICS® Container Blend Potting Soil
5.0 / 5.0
(2) 2 total reviews
Regular price From $11.99 USDRegular priceUnit price / per$11.99 USDSale price From $11.99 USD -
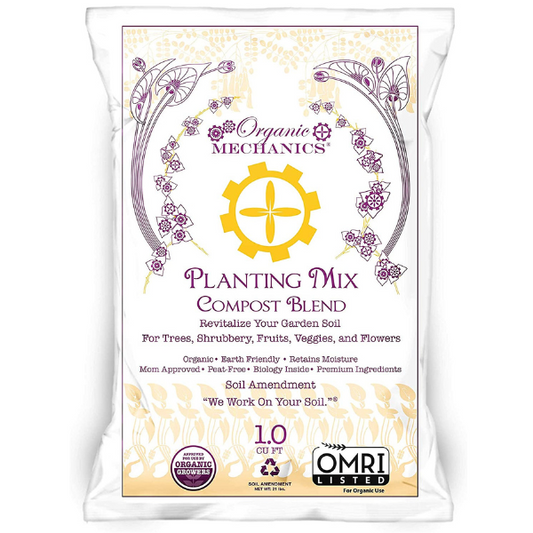
ORGANIC MECHANICS® Planting Mix Compost Blend
Regular price From $14.99 USDRegular priceUnit price / per$14.99 USDSale price From $14.99 USD -
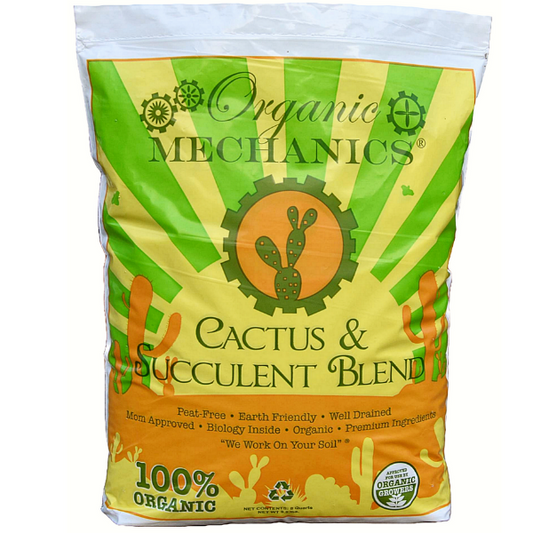
ORGANIC MECHANICS® Cactus & Succulent Blend
5.0 / 5.0
(2) 2 total reviews
Regular price From $6.49 USDRegular priceUnit price / per$6.49 USDSale price From $6.49 USD -
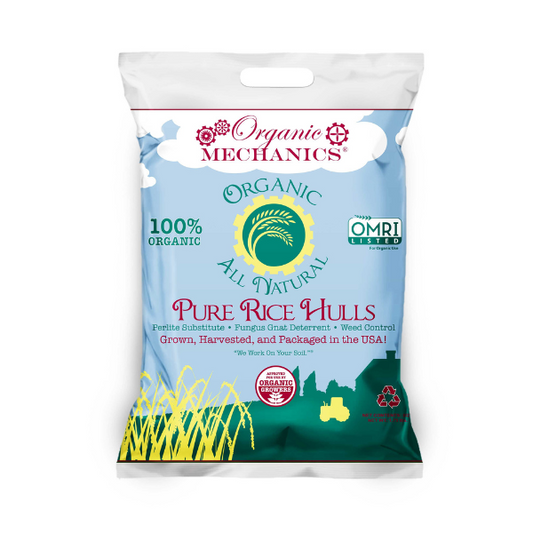
ORGANIC MECHANICS® Pure Rice Hulls
Regular price From $9.99 USDRegular priceUnit price / per$9.99 USDSale price From $9.99 USD -
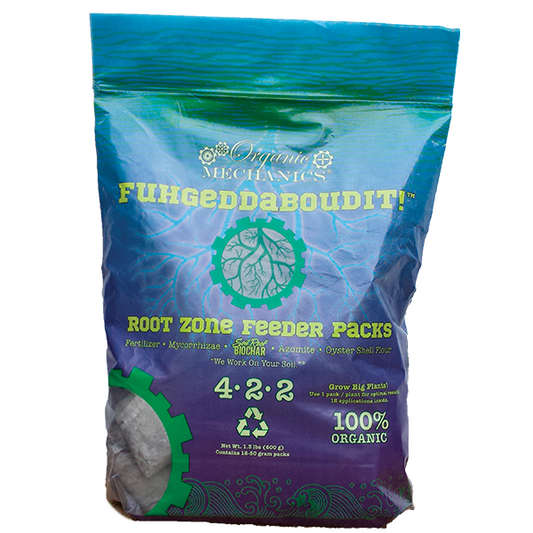
ORGANIC MECHANICS® Fuhgeddaboudit! Root Zone Feeder Packs
Regular price $24.99 USDRegular priceUnit price / per$24.99 USDSale price $24.99 USD
How Can We Help?
Let customers speak for us
from 8 reviews110 plus fugetaboutit then top dress with dr earth start of flower is all i do easy peasy

Perfect Cactus and Succulent soil. My cactus exploded after I transplanted

I Love Organic Mechanic Soil for all my garden needs.

Always great soils since the 2000’s
At my house anyway

Everything ships promptly and I love checking out with shop pay!
This mix is magical I filled all of my Earthboxes with it and my tomatoes, peppers, and zinnias grew like crazy. I just refreshed my boxes for fall and winter veggies. Love it that I can reuse this mix for several growing seasons.


ABOUT ORGANIC MECHANICS
Founded in 2006, the Organic Mechanics Soil Company, LLC is a manufacturer and distributor of premier organic potting soils, soil amendments, and fertilizers for the professional and consumer gardening communities. Our retail products can be found in independent garden centers, houseplant shops, natural food stores, and indoor gardening stores. Our wholesale products ship to farms, growers, and landscape companies. We are proud to service most of the U.S., from the East Coast to the Southwest.
At the heart of all we do, we share a philosophy that embraces environmental sustainability and regenerative gardening practices. We are actively pursuing the dream of producing the highest quality, most earth-friendly organic potting soils, soil amendments, and fertilizers available.
This is why we choose to use biochar, compost, and coconut coir instead of peat (and rice hulls instead of perlite in most of our blends), bio-diesel to power our equipment, and recycled products and local ingredients whenever available. We are committed to operating our business responsibly and sustainably.
Factor in knowledgeable, personal service, the superior performance results you’ll enjoy in your garden, and the ability to re-use our soil products a second growing season, and we hope you’ll agree that Organic Mechanics is indeed the best potting soil you’ll ever buy.
Dig your hands into a bag of Organic Mechanics and start gardening… your plants will love you for it!
Proud Supporter of Rodale Institute
-

-
We’re honored to be part of the “Proud Supporter of Rodale Institute” program! Rodale Institute, the nation’s oldest, most trusted organization devoted to organic research and education, is partnering with select brands to create products that support regenerative organic agriculture. This program recognizes farms and producers who go above and beyond in their material sourcing and farming practices.

